Step 1.
Log on to the system with the user account that you want to use to perform the installation. This user account must meet the requirements specified in Before You Begin.
Step 2.
Shut down any other programs so that the setup program can update any files as required.
Step 3.
Insert the appropriate CD-ROM into the drive. The auto-run feature automatically starts the setup program.
If the setup program fails to auto-run, manually start the setup program by entering the x:\setup command, where x: is your CD-ROM drive.
Step 4.
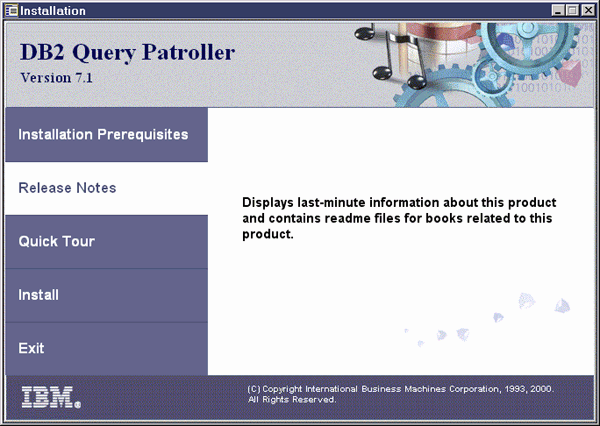
The DB2 Query Patroller Launchpad opens as shown below:

You can use the Launchpad to view the Installation Prerequisites or the Release Notes, view a Quick Tour of DB2 and its associated products, install DB2 Query Patroller, or exit the installation.
Click on Install to begin the installation.
Step 5.
Respond to the setup program's prompts. Online help is available to guide you through the remaining steps. Invoke the online help at any time by clicking on Help or pressing the F1 key. You can click on Cancel at any time to end the installation.