7.0.1: WebSphere Developer for System z V7.0 Refresh Pack 7.0.1
1.0 Overview
2.0 Installation prerequisites
3.0 Workstation installation instructions
4.0 Host installation instructions
5.0 Downloading the update for local installations
6.0 Installing product updates from a command line
7.0 Verifying your installation
8.0 Uninstalling the update
9.0 Customer support
1.0 Overview
This
document describes how to install IBM® WebSphere®
Developer for System zTM V7.0 Refresh Pack 7.0.1. This refresh pack
is provided as an update and installed using IBM Installation Manager. The
update is generally installed directly from the IBM update server; however you
can also choose to download an archive file that contains the update and then use
IBM Installation Manager to perform local installations. The following sections
describe how to install this update.
2.0 Installation
prerequisites
Workstation:
This update requires that you have the following products and fix packs
installed on Windows:
- IBM WebSphere® Developer for System z V7.0
- IBM
Rational Application Developer V7.0.0.2 or IBM
Rational System Architect V7.0.0.2 (these V7.0.0.2 updates can be
installed at the same time as Refresh Pack 7.0.1)
- IBM
Installation Manager v1.0.0.4 or later (this update can be installed
at the same time as Refresh Pack 7.0.1)
If
you disabled any product features by modifying the feature.xml files or through
the Update Manager by clicking Help > Software Updates > Manage
Configuration in the workbench, you must enable them before you install
this update.
Host:
For information about host prerequisites, refer to the Host prerequisites
and corequisites for WebSphere Developer for System z section of the "IBM WebSphere Developer for System z Prerequisites"
guide.
3.0 Workstation
installation instructions
Follow the steps below
to install the update. You should perform the installation using the same
Windows account that originally installed the IBM WebSphere Developer for
System z product. The account must have administrator privileges.
To
install directly from the IBM update server:
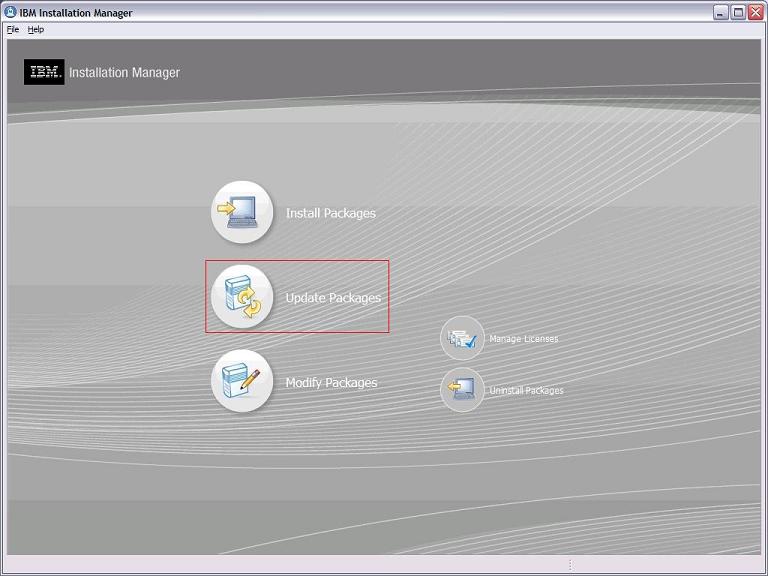
1.
Start IBM Installation
Manager from the Windows Start menu. By default this is under Start > All
Programs > IBM Installation Manager > IBM Installation Manager.
Select Update Packages.
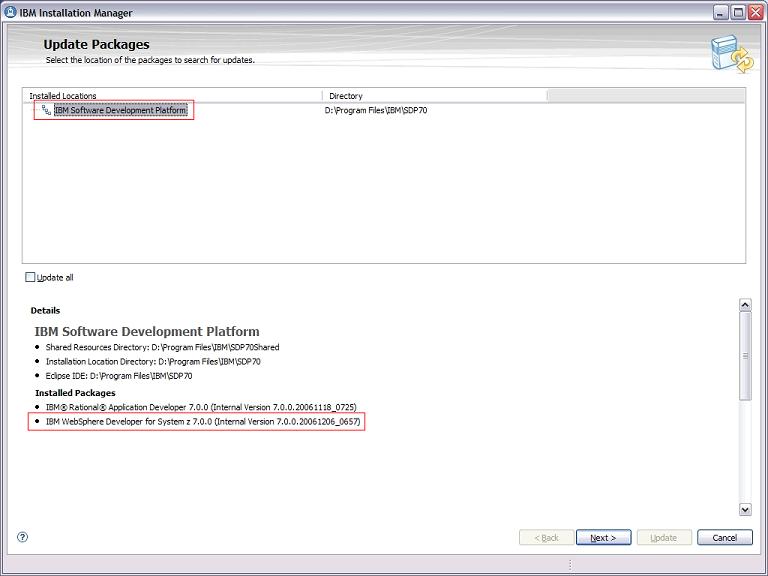
1.
Select the location
where you installed IBM WebSphere Developer for System z. The default is IBM Software Development
Platform. The Installed Packages list at the bottom of the panel should
show IBM WebSphere Developer for System z as one of the entries. Click Next.
2.
Modify the selection of
updates as desired. Click Next.
3.
Read and accept the license
agreements for the selected updates, and then follow the remaining installation
dialogs to install the selected updates.
Note: Depending on the speed of your computer processor, the amount of
RAM, and the speed of your Internet connection, the update(s) could take an
extended period of time to download and install.
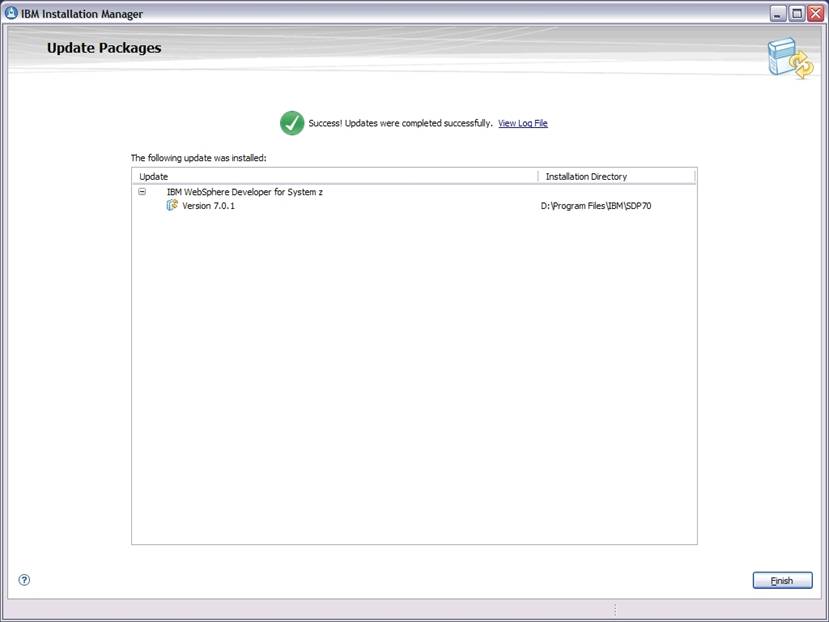
4.
When the updates are
complete, a message will be displayed by IBM Installation Manager informing you
that updates were successfully installed.
5.
Exit IBM Installation
Manager and start IBM WebSphere Developer for System z from the Windows Start
menu to begin using the product. By default this is under Start > All
Programs > IBM Software Development Platform > IBM WebSphere Developer
for System z > IBM WebSphere Developer for System z.
4.0 Host installation
instructions
For Refresh Pack 7.0.1
Host PTF download and installation information, please see the support website.
5.0 Downloading the
update for local installations
Ideally, this update
should be installed directly from the IBM update server, as described in the Workstation installation instructions section above.
However, you may also download an archive file containing the update and
perform local installations. You might want to do this if:
- You have a slow or unstable Internet connection and
want to use a download manager that can resume the download.
- You have difficulty accessing the live IBM update
servers from behind a firewall.
- You prefer to download the update and install it later.
1.
Download the WDz70Refresh701.exe
file from the support website.
2.
Run WDz70Refresh701.exe
by double-clicking on the file. This program will be used to extract the
required update installation files to a folder on your system. Follow the
program dialogs to select the destination folder and extract the update
installation files. These files are temporary and may be deleted after the
installation is completed.
3.
Start IBM Installation
Manager from the Windows Start menu. By default this is under Start > All
Programs > IBM Installation Manager > IBM Installation Manager.
Select Update Packages.
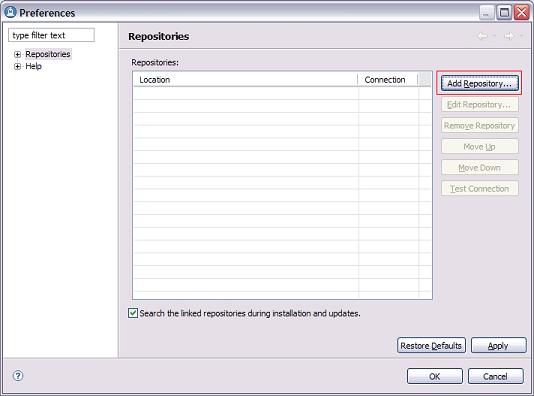
4.
From the menu bar,
select File > Preferences… This is where you will tell the IBM
Installation Manager the location of the installation files you just extracted.
5.
Click Add Repository…
in the Preferences dialog.
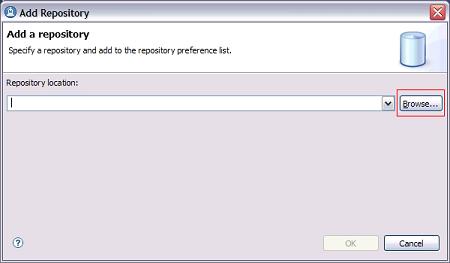
6.
In the Add Repository
dialog, browse to the directory where you extracted the update installation
files. Inside that directory you will see a websphere\wdz\70\update
folder. This is the folder which you
want to select and click OK.
7.
Click Test Connection and ensure that the
repository can be found.
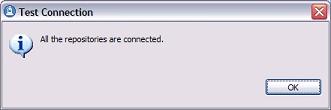
Click OK.
8.
Now that the local
repository has been set, follow the instructions outlined in the Workstation installation instructions section above.
6.0 Installing product
updates from a command line
You can install product
updates, such as interim fixes and fix packs, from a command line so that you
do not have to monitor or input information during the installation. For more
information about installing product updates from a command line, see Working
with silent installations in the IBM Installation Manager help.
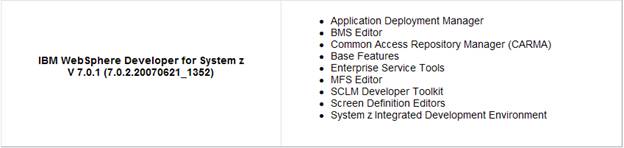
7.0 Verifying your
installation:
You can verify that the
update is installed by running View
Installed Packages which is located under Start > All Programs >
IBM Installation Manager > View
Installed Packages. You should see IBM
WebSphere Developer for System z V 7.0.1 (7.0.2. 20070621_1352) listed.
8.0 Uninstalling the
update
The update can only be
uninstalled by uninstalling the entire IBM WebSphere Developer for System z
product.
9.0 Customer support
For product support and
other information, see the IBM WebSphere Developer for zSeries home page at www.ibm.com/software/awdtools/devzseries/.